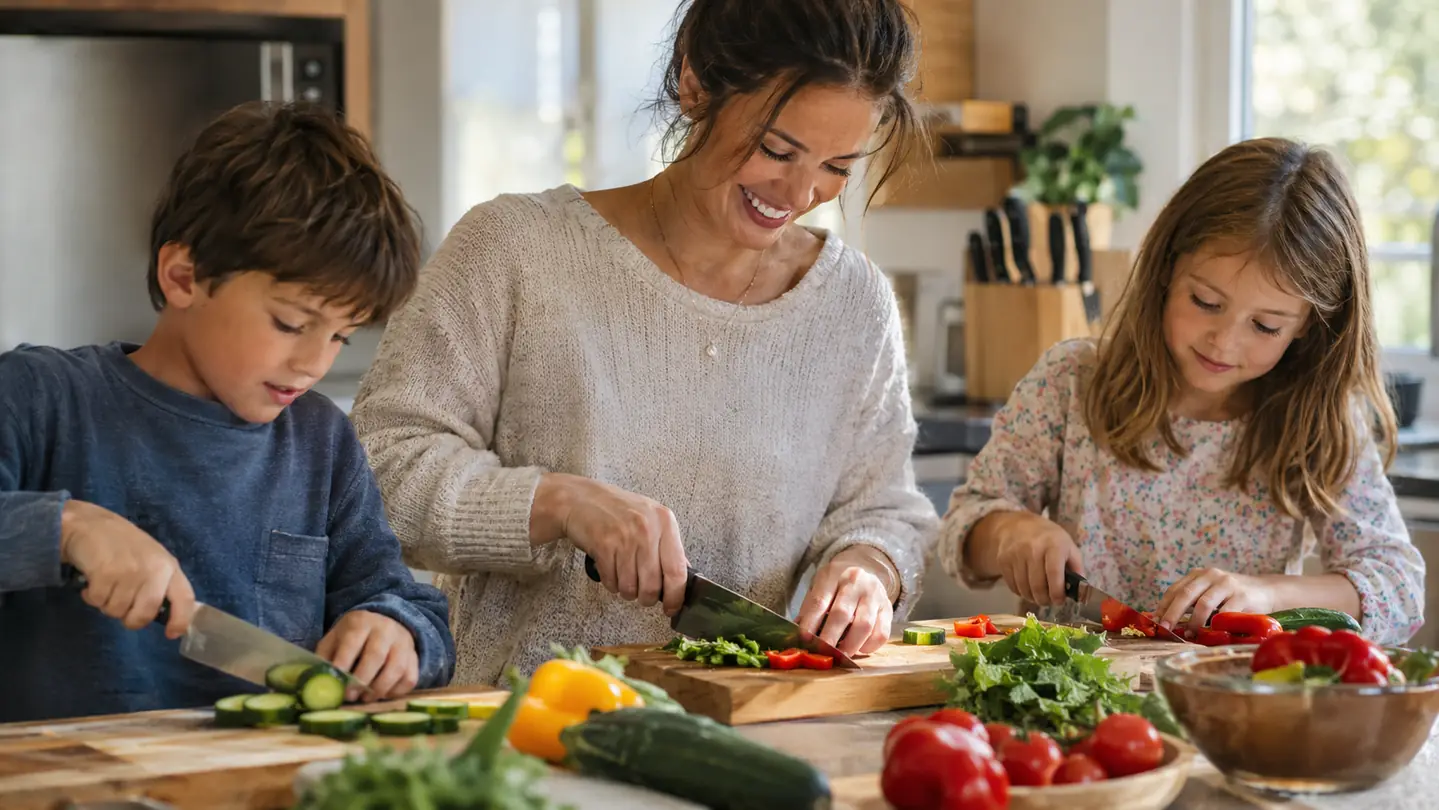
Somewhere around age eight, kids decide they want to help in the kitchen. That is a good thing. It is also the exact moment a parent has to decide whether to keep shooing them away from the counter or start teaching them how to handle a knife. I spent years in the first camp with my four kids, mostly because the idea of handing a sharp blade to a child made my stomach drop. Then I realized the alternative was worse: a teenager who does not know which end of a chef knife goes down. So I came up with a simple, five-step way to teach knife safety, and the Farberware 22-piece knife block set made it easier than I expected.
If you cook for a big household the way I do, you already know the problem. You have one good knife that you hide from everyone, a drawer full of dull ones that are somehow more dangerous than the sharp ones, and a kid standing next to you asking to help with dinner. The answer is not to keep saying no. The answer is to give them a real knife, a real lesson, and a clear set of rules they can actually follow. Here is how we did it in our kitchen outside Columbus, Ohio, and how you can do it in yours.
Start with a knife set that gives every age the right size
The Farberware 22-piece set has a blade for every hand in the house, from a 3.5-inch paring knife for small hands to an 8-inch chef knife for the grown-ups. Check today's price on Amazon and see why it is the set we reach for every single night.
Amazon Check Today's Price on Amazon →Step 1: Set the ground rules before anyone touches a blade
Before I ever put a knife in a kid's hand, I sat all four of them down at the kitchen table and went over the rules. No running with a knife. No waving a knife around, even as a joke. The knife stays at the counter. You carry it with the blade pointing down and slightly away from your body. And when you are not using it, it goes back in the block or flat on the cutting board, never sitting loose in the sink where someone could reach in and get cut.
I wrote the rules on an index card and taped it to the inside of a cabinet door near the knife block. That sounds like overkill, but it worked. When one of the kids started to get silly with a knife, all I had to say was, 'What does the card say?' and the silliness stopped. The rules are not about being scary. They are about making safe behavior the default, so that when you are not standing right there, the good habits are already in place.
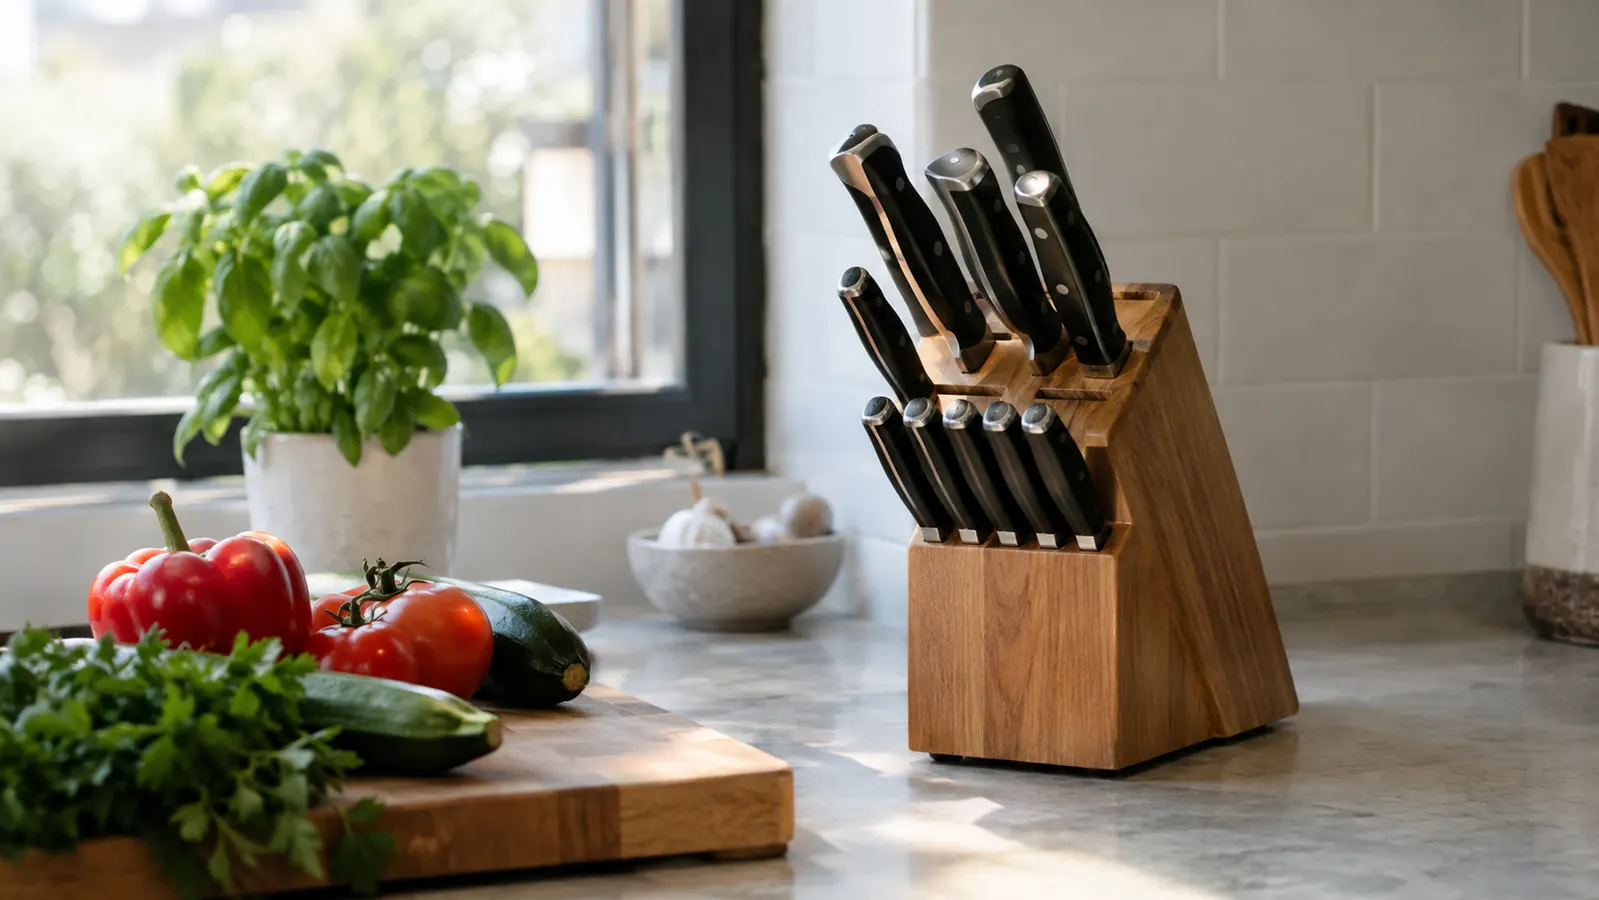
One rule I added after a close call: the knife block stays at the back of the counter, out of reach of the youngest kids. The Farberware block is heavy enough that it does not slide around, and it holds all 22 pieces neatly, so there is never a loose blade sitting out. That alone made our kitchen safer before we even started the lessons.
Step 2: Let them practice the grip before they cut anything
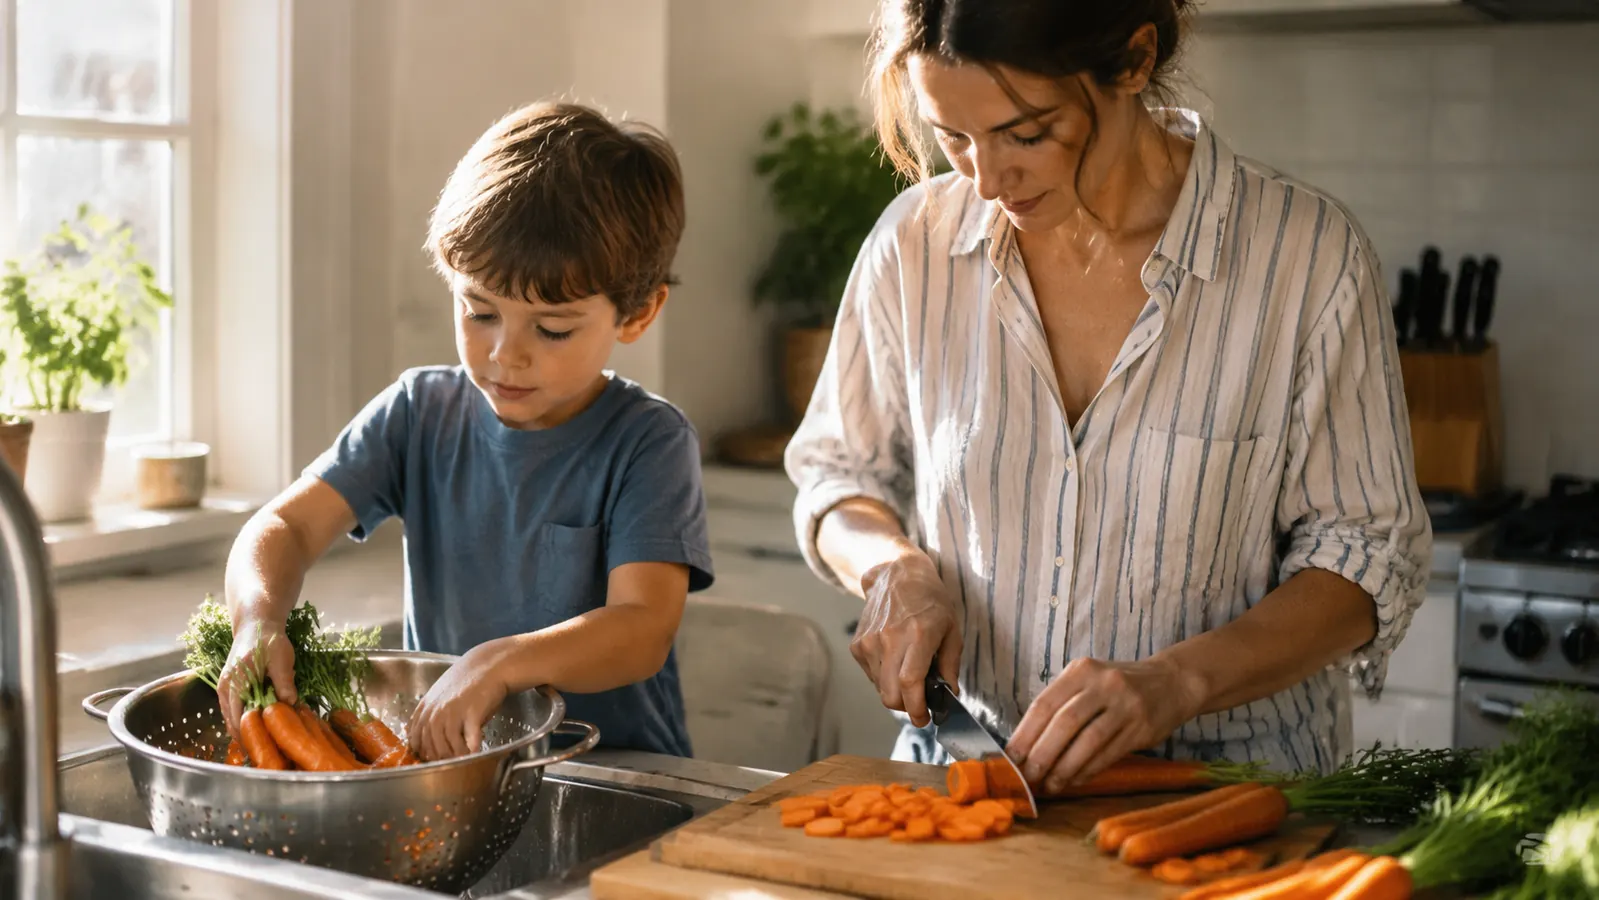
The first time my oldest picked up a chef knife, he held it like a hammer. That is normal. Kids have seen adults hold knives, but they have never thought about why they hold them that way. So before we cut a single vegetable, we practiced the grip. The pinch grip, where your thumb and index finger pinch the blade just above the handle and your other three fingers wrap around the handle, gives you control and keeps your fingers away from the edge.
I had each kid practice the grip on a butter knife first, then move to the real thing. The Farberware knives have triple-riveted handles with a textured, non-slip finish, which made a real difference here. Small hands that were still figuring out where to put their fingers did not have to fight the handle sliding around. The non-slip texture gave them a secure hold, and the riveted construction meant the handle felt solid instead of flimsy.
We also practiced the other hand, the one holding the food. The claw grip, where you tuck your fingertips under and hold the food with your knuckles, keeps the tips of your fingers out of the path of the blade. I had the kids practice the claw on a whole cucumber, just holding it and moving it around the cutting board, before they ever picked up a knife. It felt silly for about thirty seconds. Then it became automatic.
Step 3: Start with soft foods and the right size blade
The biggest mistake I made early on was handing my kids the same knife I use. An 8-inch chef knife is a lot of blade for a nine-year-old. It is heavy, it is long, and it is hard to control. The Farberware set solved this without me having to buy anything extra, because it includes a 5-inch Santoku, a 4.5-inch utility knife, a 4-inch utility knife, and a 3.5-inch paring knife. There is a size for every stage of a kid's hand.
We started with the 3.5-inch paring knife and soft foods. Mushrooms, strawberries, hulled-out bell peppers, and bananas. Foods that give a little resistance but do not require much force. The goal was not to produce perfectly chopped vegetables. The goal was to build the muscle memory of the grip and the claw while the stakes were low. When a mushroom rolls off the board, nobody panics. When a finger gets in the way of a paring knife on a mushroom, it is a lot less scary than the same mistake with an 8-inch chef knife.
From there we moved up in blade size as each kid got comfortable. My 11-year-old graduated to the 5-inch Santoku within a few weeks. My 8-year-old is still happiest with the paring knife, and that is fine. The point is not to rush them to the biggest blade. The point is to let them feel successful at each stage, so that confidence builds the right way, through competence, not through bravado.
Step 4: Teach the boring stuff, the care and the carrying
Knife safety is not only about what happens while you are cutting. It is about what happens before and after. I taught the kids that a sharp knife is a safe knife, because a dull blade requires more force and is more likely to slip. The Farberware blades are high carbon stainless steel, and they hold an edge well, which means the kids get to learn on a knife that actually cuts instead of one that squashes the tomato and slides toward their fingers.
We also practiced the carry. The knife goes down at your side, blade pointing behind you, with the sharp edge facing back. You do not point it at anyone, and you do not swing it. I made the kids say out loud what they were doing the first few times: 'Walking to the sink, blade down, pointing behind me.' It sounds ridiculous, but saying it out loud made them think about it, and thinking about it is the whole point.
Cleaning up is part of the lesson too. Knives do not go in the sink. They get rinsed and placed flat on the counter or straight into the dishwasher, depending on the knife. The kids know that if they cannot reach the sink safely with a knife, they ask for help. That rule has prevented more than one accident in our house, because there is no shame in asking, and there is no reason for a small kid to be carrying a chef knife across a busy kitchen.
Step 5: Give them a real job at a real dinner
The final step is the one that makes all the practice worth it: give them a real job in the real dinner. Not a practice carrot on a practice board. The actual vegetables for the actual meal that six people are about to eat. When my 11-year-old first sliced the cucumbers for a weeknight dinner, you would have thought she had won an award. She walked around the kitchen showing everyone her cucumber slices before they went into the salad bowl.
Start with a job that matches their skill level. A younger kid can tear lettuce, snap green beans, or slice mushrooms with a paring knife. An older kid can dice onions, slice bell peppers, or cut up the fruit for breakfast. The key is that the job is real, and the knife is real, and the expectation is real. Kids rise to the level you set for them, and they are far more careful with a real knife doing a real job than they ever are with a plastic one pretending.
The Farberware set earns its place here because it gives everyone the right tool. The 8-inch chef knife and 8-inch slicer stay on the adult side of the counter. The 5-inch Santoku and the utility knives are the kids' zone. The 6 steak knives come out at dinner, which is a nice side benefit: the kids get to use a knife at the table properly, and the grown-ups get a blade that actually cuts through a steak instead of shredding it.
What Else Helps
A good cutting board matters more than people think. I use a large wooden board that does not slide around, and I put a damp paper towel under it to keep it steady. A board that slips is a board that causes cuts. I also keep a separate small board for the kids when they are learning, so they are not trying to share space with me while I am prepping the rest of dinner.
A few other things made a difference for us. Let the kids pick which vegetable they want to cut, because ownership beats instruction. Do the first few sessions together, side by side, so they can mirror your hands. And be patient with the pace. A seven-year-old dicing a pepper takes about four times as long as you would, and that is okay. The time you invest now is time you get back later, when they can actually help with dinner instead of just standing next to you asking questions.
A sharp knife is a safe knife. The Farberware high carbon stainless steel blades hold an edge well, so the kids learn on a knife that cuts instead of one that squashes the tomato and slides toward their fingers.
Give your kids the right blade for every stage
The Farberware 22-piece knife block set has the range to grow with your kids, from a 3.5-inch paring knife to an 8-inch chef knife. Check today's price on Amazon and start the lessons this week.
Amazon Check Today's Price on Amazon →